Here are some examples of what you can do using Rheinberg filters
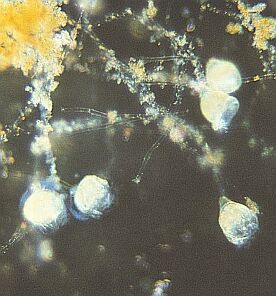
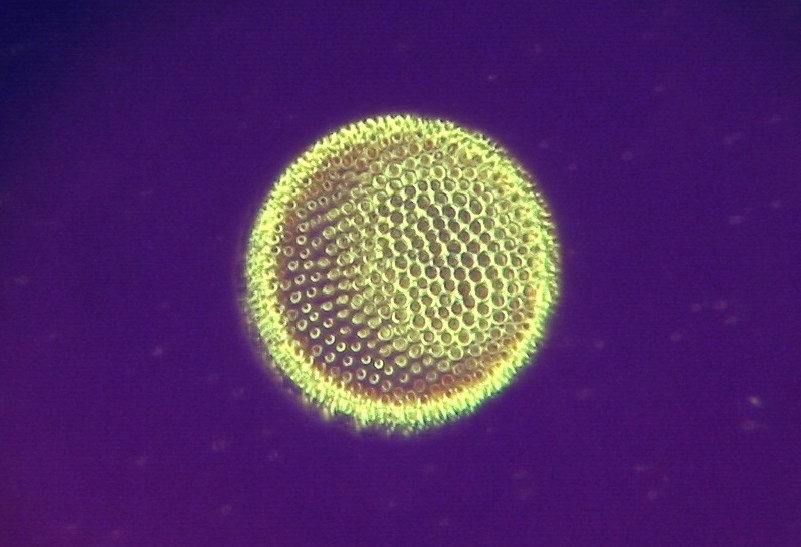
Vorticella in darkfield illumination 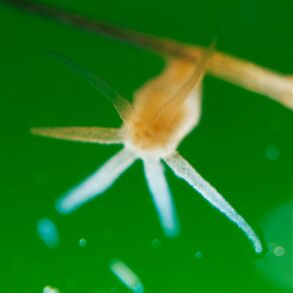
Hydra using Rheinberg illumination 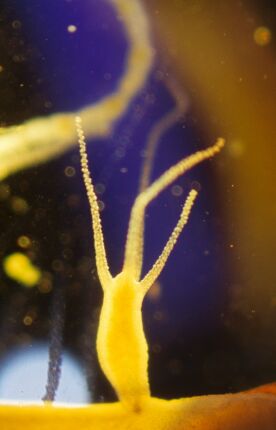
Hydra in Rheinberg illumination 
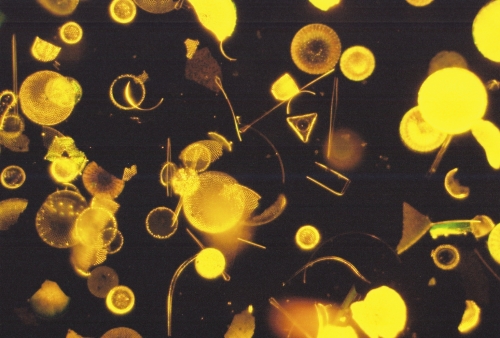
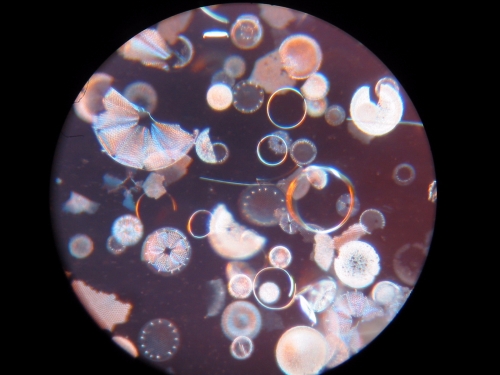
Diatoms using yellow annulus and orange center stop filters 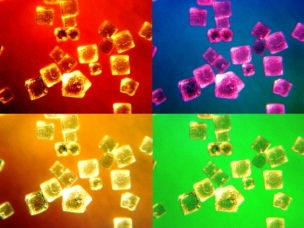
Salt crystals using different rheinberg filter combinations 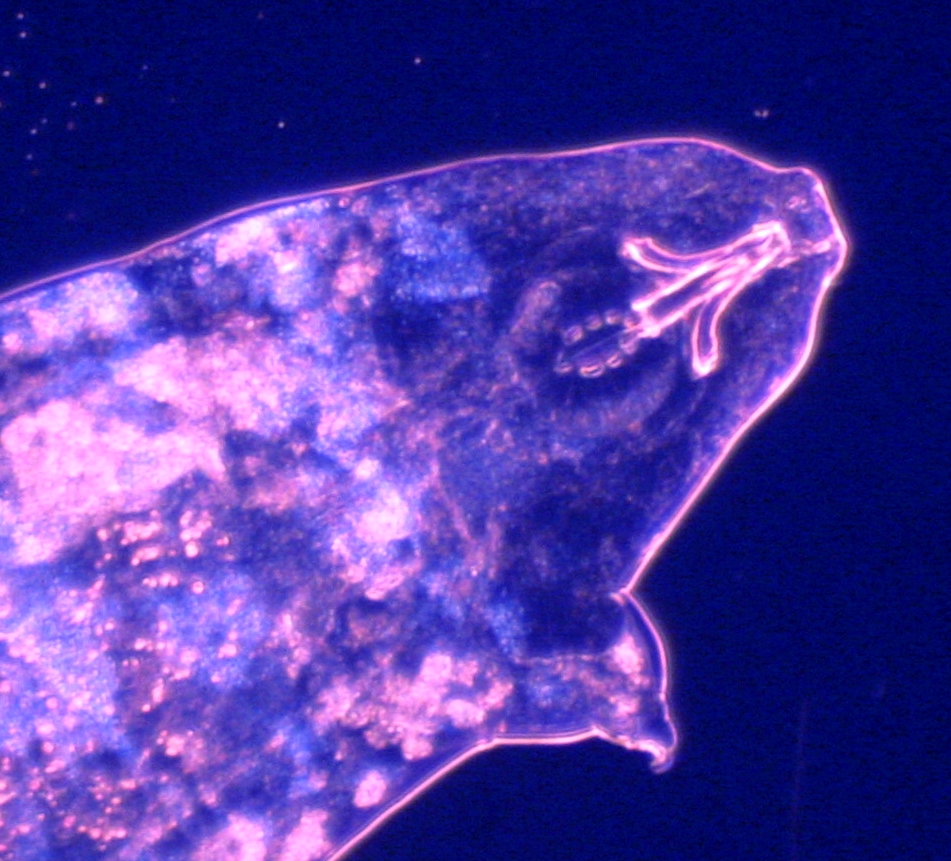
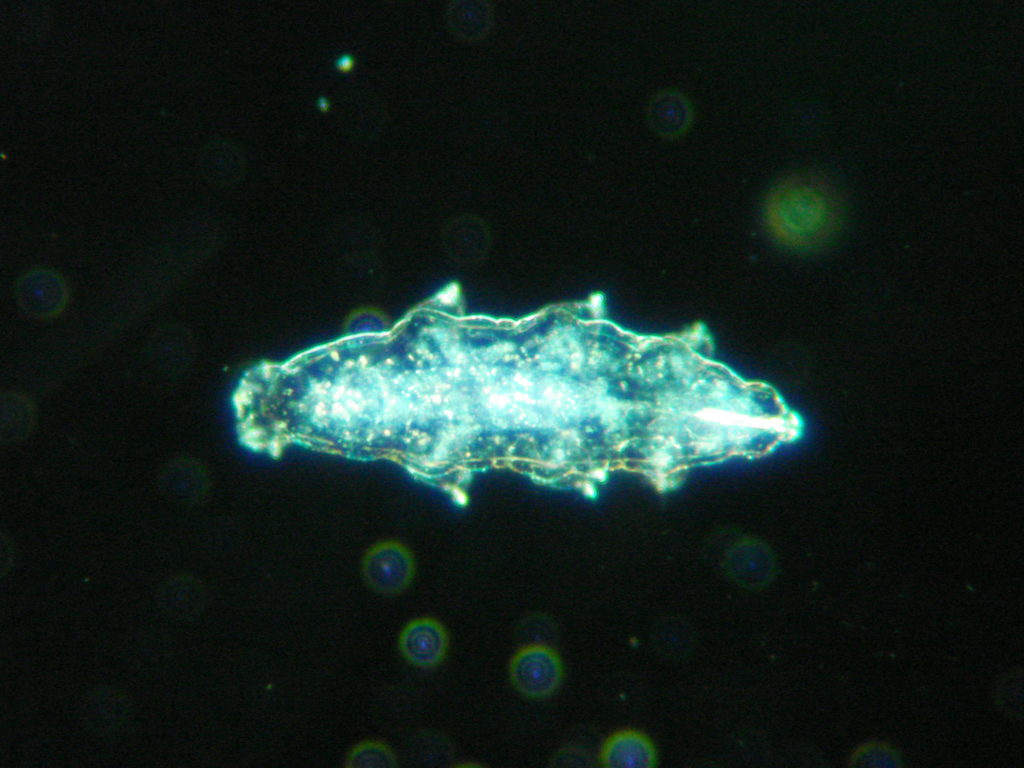
Tardigrade seen using a compound microscope. Rheinberg Illumination used
What is a Rheinberg filter?
Take a look at this full set of Rheinberg filters
and solid color filters:

The solid color filters will make EVERYTHING the same color. Background and specimen.
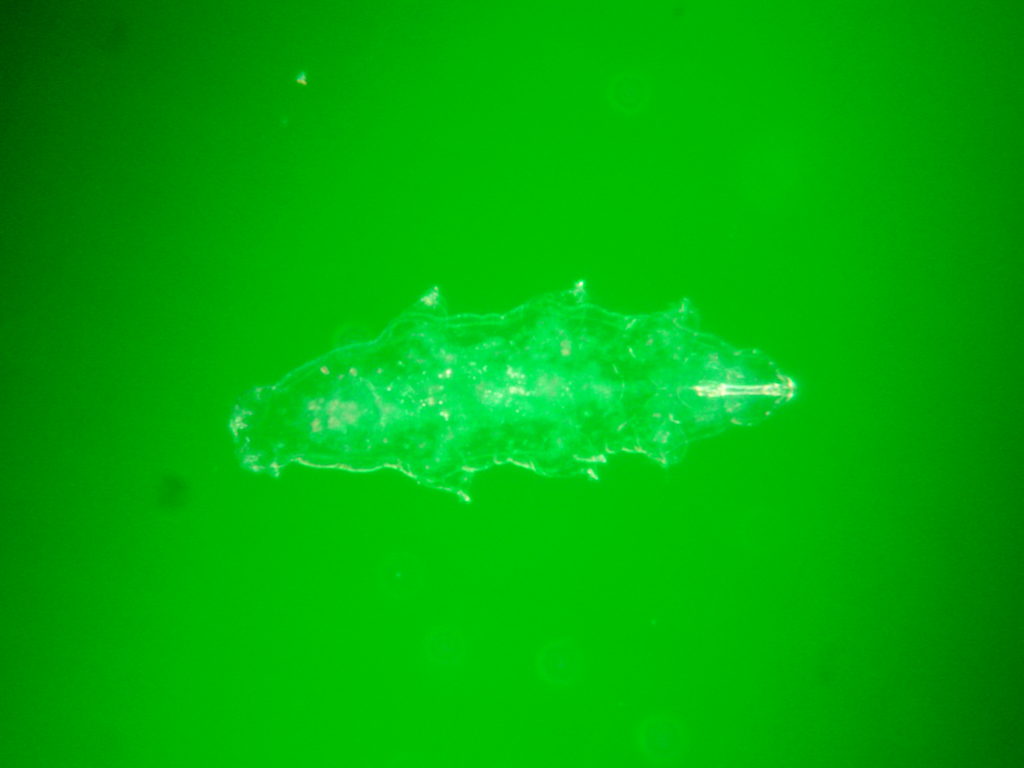
Rheinberg filters are different
There are two basic components: The center stop and the annulus ring.
The center stop is an almost opaque dot in the middle of the filter which allows just enough light through to illuminate the background. The annulus ring is a translucent circle at the edge of the filter which colors the specimen.

So a green dot in the middle gives a green background only, BUT the yellow circle on the outside gives you a yellow specimen.
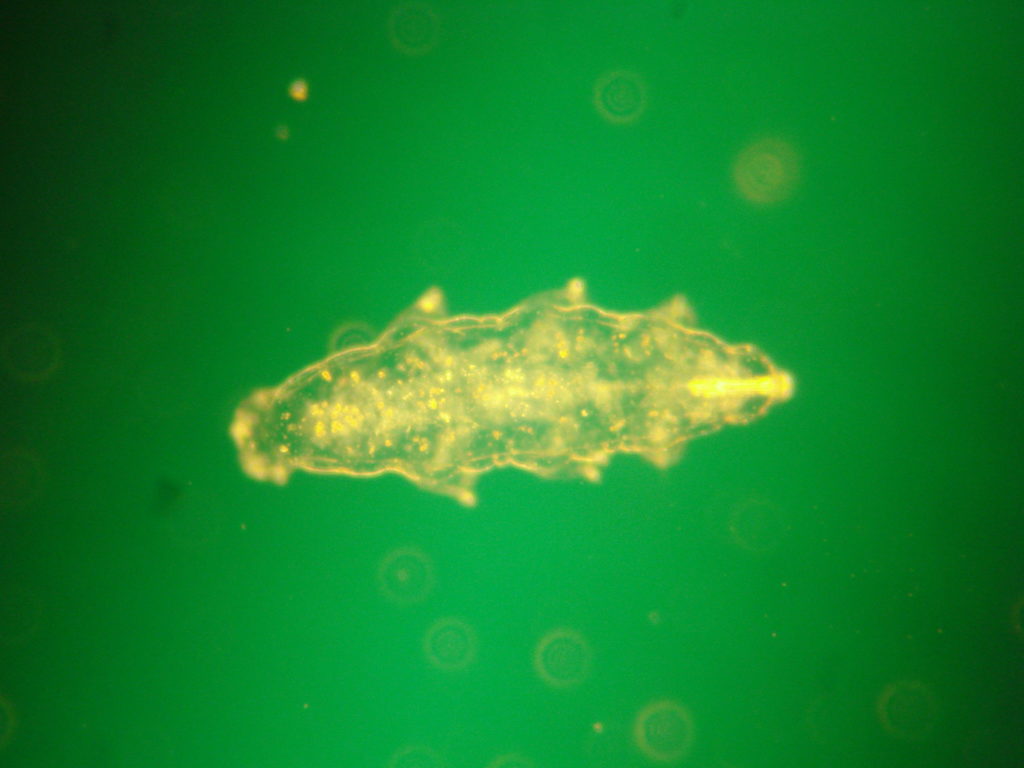
These are annulus rings…

These are center stops…

By using various combinations of center stops and annulus rings, now you can see how it works. You would stack an annulus ring on top of a center stop filter for your Rheinberg filter combination. In the picture of a diatom below, I used a purple center stop and yellow annulus combination.
This website depends upon affiliate programs such as Amazon, Adorama, Blick Art Materials, and others. I appreciate your using these links to support this website. More information is in our Privacy Policy.
Below are the essential supplies to make Rheinberg filters. Click on the pictures for descriptions, details, and the latest pricing.

Colored tape is the best material for making center stops. Punch out your dots and stick them to clear disks. Click on the picture above to see pricing and more colored tape options

The above starter pack will provide pleny of annulus rings. Click on the picture above to see pricing and more colored gel options
A good way to make annulus rings is by getting studio lighting gels in various colors. Since these are expensive, it is more economical to buy a swatch pack of sample colors.


These Osborne centering punches do a nice job of making the holes in annulus rings. Click on the picture above to see pricing and description.
You can also use a compass cutter to make the clear disks and the annulus rings.


Click on the above picture to see pricing and other compass cutters

Above is another type of compass cutter you can use to cut out disks. Click on the image for pricing.
You will need to make a series of clear disks to which you attach the center stops. The least expensive material to use is a report cover. Here you see I’m attaching a black center stop to an already cut out clear disk.


Click on the above image to browse report covers for making clear disks

This cement is particularly good for bonding to clear plastic disks. It’s mainly used for archery, attaching feathers to arrows, thus for making Rheinberg filters, it’s good too so your center stops will not peel off very easily. Click on the image to see pricing.
Step 1
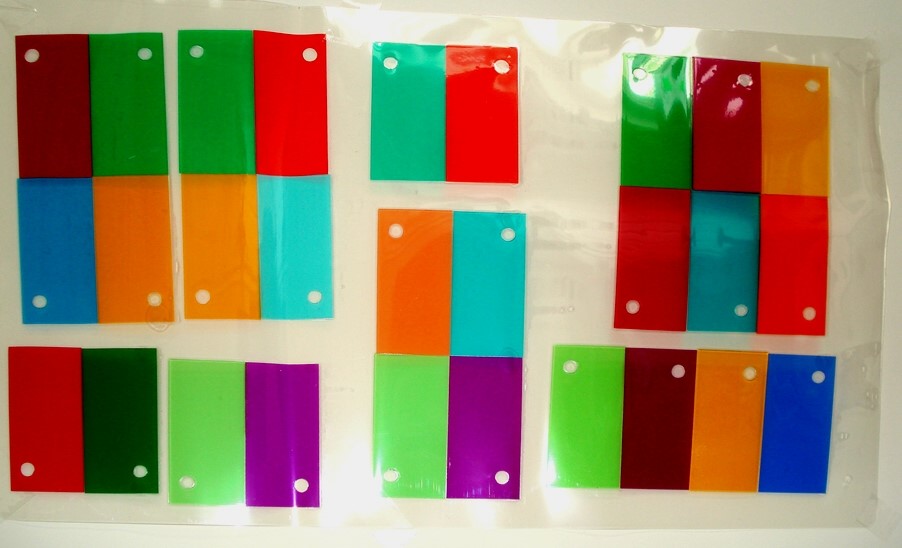
Out of the laminating machine comes a sheet of swatch pack filter combinations
Step 2
These can be cut into circles, then multicolored annulus rings.

Step 3
Try using the swatch pack gel samples and cut out squares from the full sized lighting gels in unusual combinations


Here is a good quality laminator like the one I use

Click on the laminator above to see pricing and other models.
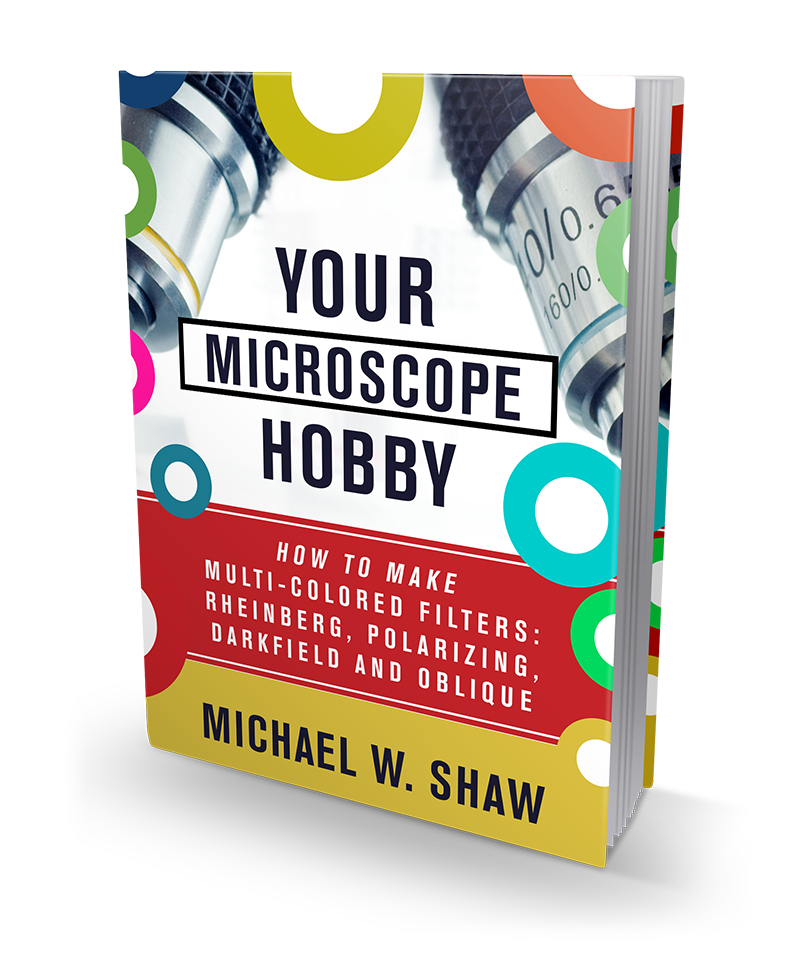
Actual techniques using all these items and materials can be found in my book here.
And that’s it. Only a dozen or so items are all you need to get started making Rheinberg filters, and a bit of searching will show that all of these things can be found to fit within most budgets. Remember – my affiliate links support this website, and I thank you in advance.
